If you’re like me, and many other developers, you probably experience imposter syndrome. Imposter syndrome deserves a post of its own (the best way to deal with it is to work more), but in this case, my own imposter syndrome led to me writing this article :
Oftentimes when I’m experiencing imposter syndrome, I doubt whether or not I’ve actually done anything particularly useful or impressive after a week, or a month. The idea occurred to me that I could look through all my GitHub contributions (made up of Commits, Issues, and Pull requests) for a certain period of time, and use that to determine how productive I was for that period of time.
Naturally, the first thing you would do is check your contribution history on Github itself.

The problem with this is that you have to manually go through every single contribution, and it’s actually really difficult to get your curser on a single date (I.E October second). If you wanted to look over all your commits for a month, and you use Github a lot like me, this would take a bunch of time, and it’s super tedious.
In the words of famous comedian Nathan Fielder: “I’m a Hacker Mel, not a Slacker!”. We need to find a better way of tracking our contributions!
Github has two different API’s at the moment:
I’ve actually worked with both API’s during my time with theMetrics Dashboard — Software and Systems Laboratory vv0.3.1
If you don’t know anything about GraphQL, it’s kinda like a NoSQL equivalent to APIs. You query and retrieve data using JSON syntax. It was made and is maintained by Facebook (If your framework ’s maintainer doesn’t erode democratic institutions, is it really worth using? )
GraphQL works the best for us because we can query multiple different resources at once, rather than having to chain different REST calls.
Don’t worry, I’ll show you the code.
First go to GraphQL API Explorer | GitHub Developer Guide. This page is a front end client that lets you query the API easily.
Go ahead and click the run button.

Great! You just made your first API call. Now it’s time to make an actually useful query.
(If you want to just copy and paste my code, that’s cool, just click here).
First, instead of using the viewer query, let’s use our actual username. It will help us later.
{
    user(login: "[YOUR USERNAME GOES HERE]" {
        ...
    }
}
Next, let’s begin to track your contributions. contributionsCollection is an aggregate of all your
contributions for a certain user. It requires you to put in a from variable, which is a ISO-8601
encoded UTC date string. This should be the date that you would like to start tracking your contributions. I wanted
to track my progress since the start of October, so my code is as follows:
contributionsCollection(from: "2020-10-01T00:00:00+00:00") {
    ...
}
Now let’s say that you want to see your total number of contributions, broken down into categories (commits, issues, pull requests, and created repos). We’ll get to more specific data in a second, but this is still really to look at as a overall indicator.
Copy and paste this code and then run it:
      totalRepositoryContributions
      totalIssueContributions
      totalPullRequestContributions
      totalCommitContributions
It should look something like this:

As you can see, I made 65 commits, 2 pull requests, 1 issue, and created 1 new repo since October!
This is a good start, but it would be nice to have a breakdown of those contributions…
If you’re like me, the above query isn’t enough. I want to see how many commits I’ve done for each repo, and track those commits by date.
Luckily, GitHub has further aggregations of the contributions, separated by type:
commitContributionsByRepositoryissueContributionsByRepositorypullRequestContributionsByRepositoryrepositoryContributionsEach of these break down into two different objects.
Let’s go step by step.
For each repository where I made commits, I want to know the repository’s name, the owner of the repository and the repository’’s description.
I also want to know a URL I can go to see all the commits for this repo, in detail, for my chosen timeframe. (Sadly we can’t break down each contribution into detail using the API). Using the URL is our best option.
I want to see how many commits I made on a daily basis for this repo.
The code for this is as follows:
     commitContributionsByRepository {
        repository {
          owner {
            login
          }
          name
          description
        }
        url
        contributions(first: 20, orderBy: {field: COMMIT_COUNT, direction: DESC}) {
          nodes {
            commitCount
            user {
              login
            }
            occurredAt
          }
        }
    }
For each repository where I made issues, I want to know the repository’s name, the owner of the repository’ and the repository’’s description.
I want to see the body/description of each issue. I also want a URL in case I want to investigate further.
The code for this is as follows:
issueContributionsByRepository(maxRepositories: 5) {
        repository {
          owner {
            login
          }
          name
          description
        }
        contributions(first: 20) {
          nodes {
            issue {
              body
              url
            }
          }
        }
      }
For each repository where I made a pull request, I want to know the repository’s name, the owner of the repository’ and the repository’’s description.
I want to see the body/description of each pull request. I want to see all the participants in this pull request (I.E reviewers, those who made the request, etc). I also want a URL in case I want to investigate further.
The code for this is as follows:
pullRequestContributionsByRepository {
        repository {
          owner {
            login
          }
          name
          description
        }
        contributions(first: 20) {
          nodes {
            pullRequest {
              body
              participants(first: 20) {
                nodes {
                  login
                }
              }
              url
            }
          }
        }
      }
Finally, I want to see the name, description, url, and the day of creation for any repositories that I’ve made in the timeframe.
The code for this is as follows:
      repositoryContributions(first: 5) {
        nodes {
          repository {
            name
            description
            createdAt
            url
          }
        }
Heres the entire query:
{
  user(login: "acrose99") {
    contributionsCollection(from: "2020-10-01T00:00:00+00:00") {
      totalRepositoryContributions
      totalIssueContributions
      totalPullRequestContributions
      totalCommitContributions
      commitContributionsByRepository {
        repository {
          owner {
            login
          }
          name
          description
        }
        url
        contributions(first: 20, orderBy: {field: COMMIT_COUNT, direction: DESC}) {
          nodes {
            commitCount
            user {
              login
            }
            occurredAt
          }
        }
      }
      issueContributionsByRepository(maxRepositories: 5) {
        repository {
          owner {
            login
          }
          name
          description
        }
        contributions(first: 20) {
          nodes {
            issue {
              body
              url
            }
          }
        }
      }
      pullRequestContributionsByRepository {
        repository {
          owner {
            login
          }
          name
          description
        }
        contributions(first: 20) {
          nodes {
            pullRequest {
              body
              participants(first: 20) {
                nodes {
                  login
                }
              }
              url
            }
          }
        }
      }
      repositoryContributions(first: 5) {
        nodes {
          repository {
            name
            description
            createdAt
            url
          }
        }
      }
    }
  }
}
Go ahead and run it! Take your time and read through the response. It might be a little overwhelming first, but remember, it’s just JSON. It follows the general format that I mentioned above (repo info and then contribution info).
This is a really good start, but we still need to open GraphQL every time we want to check our stats. Furthermore, the data isn’t saved anywhere.
Is there a quick way to query this data and save the output locally?
(Yes, obviously, please keep reading comrade).
This section requires you to use Chrome
First, If you’re using a Windows, install cURL using these instructions: curl for Windows
First, go back to the GraphQL editor, open web inspector in Chrome and go to the network tab. It will ask you reload page. COPY AND PASTE YOUR CODE BEFORE RELOADING.
After you’ve copied and pasted the code, go ahead and reload the page. Copy the code back into the query editor and run it again (you can also use the history tab). There should be a bunch of network requests in the web inspector tab. Look for the one at the very bottom named “Proxy”.
It should look like this:

Right click it, go to the copy tab, and click “copy as cURL”.
Open a text editor (Sublime works the best for this), copy and paste the code, and save the file for now.
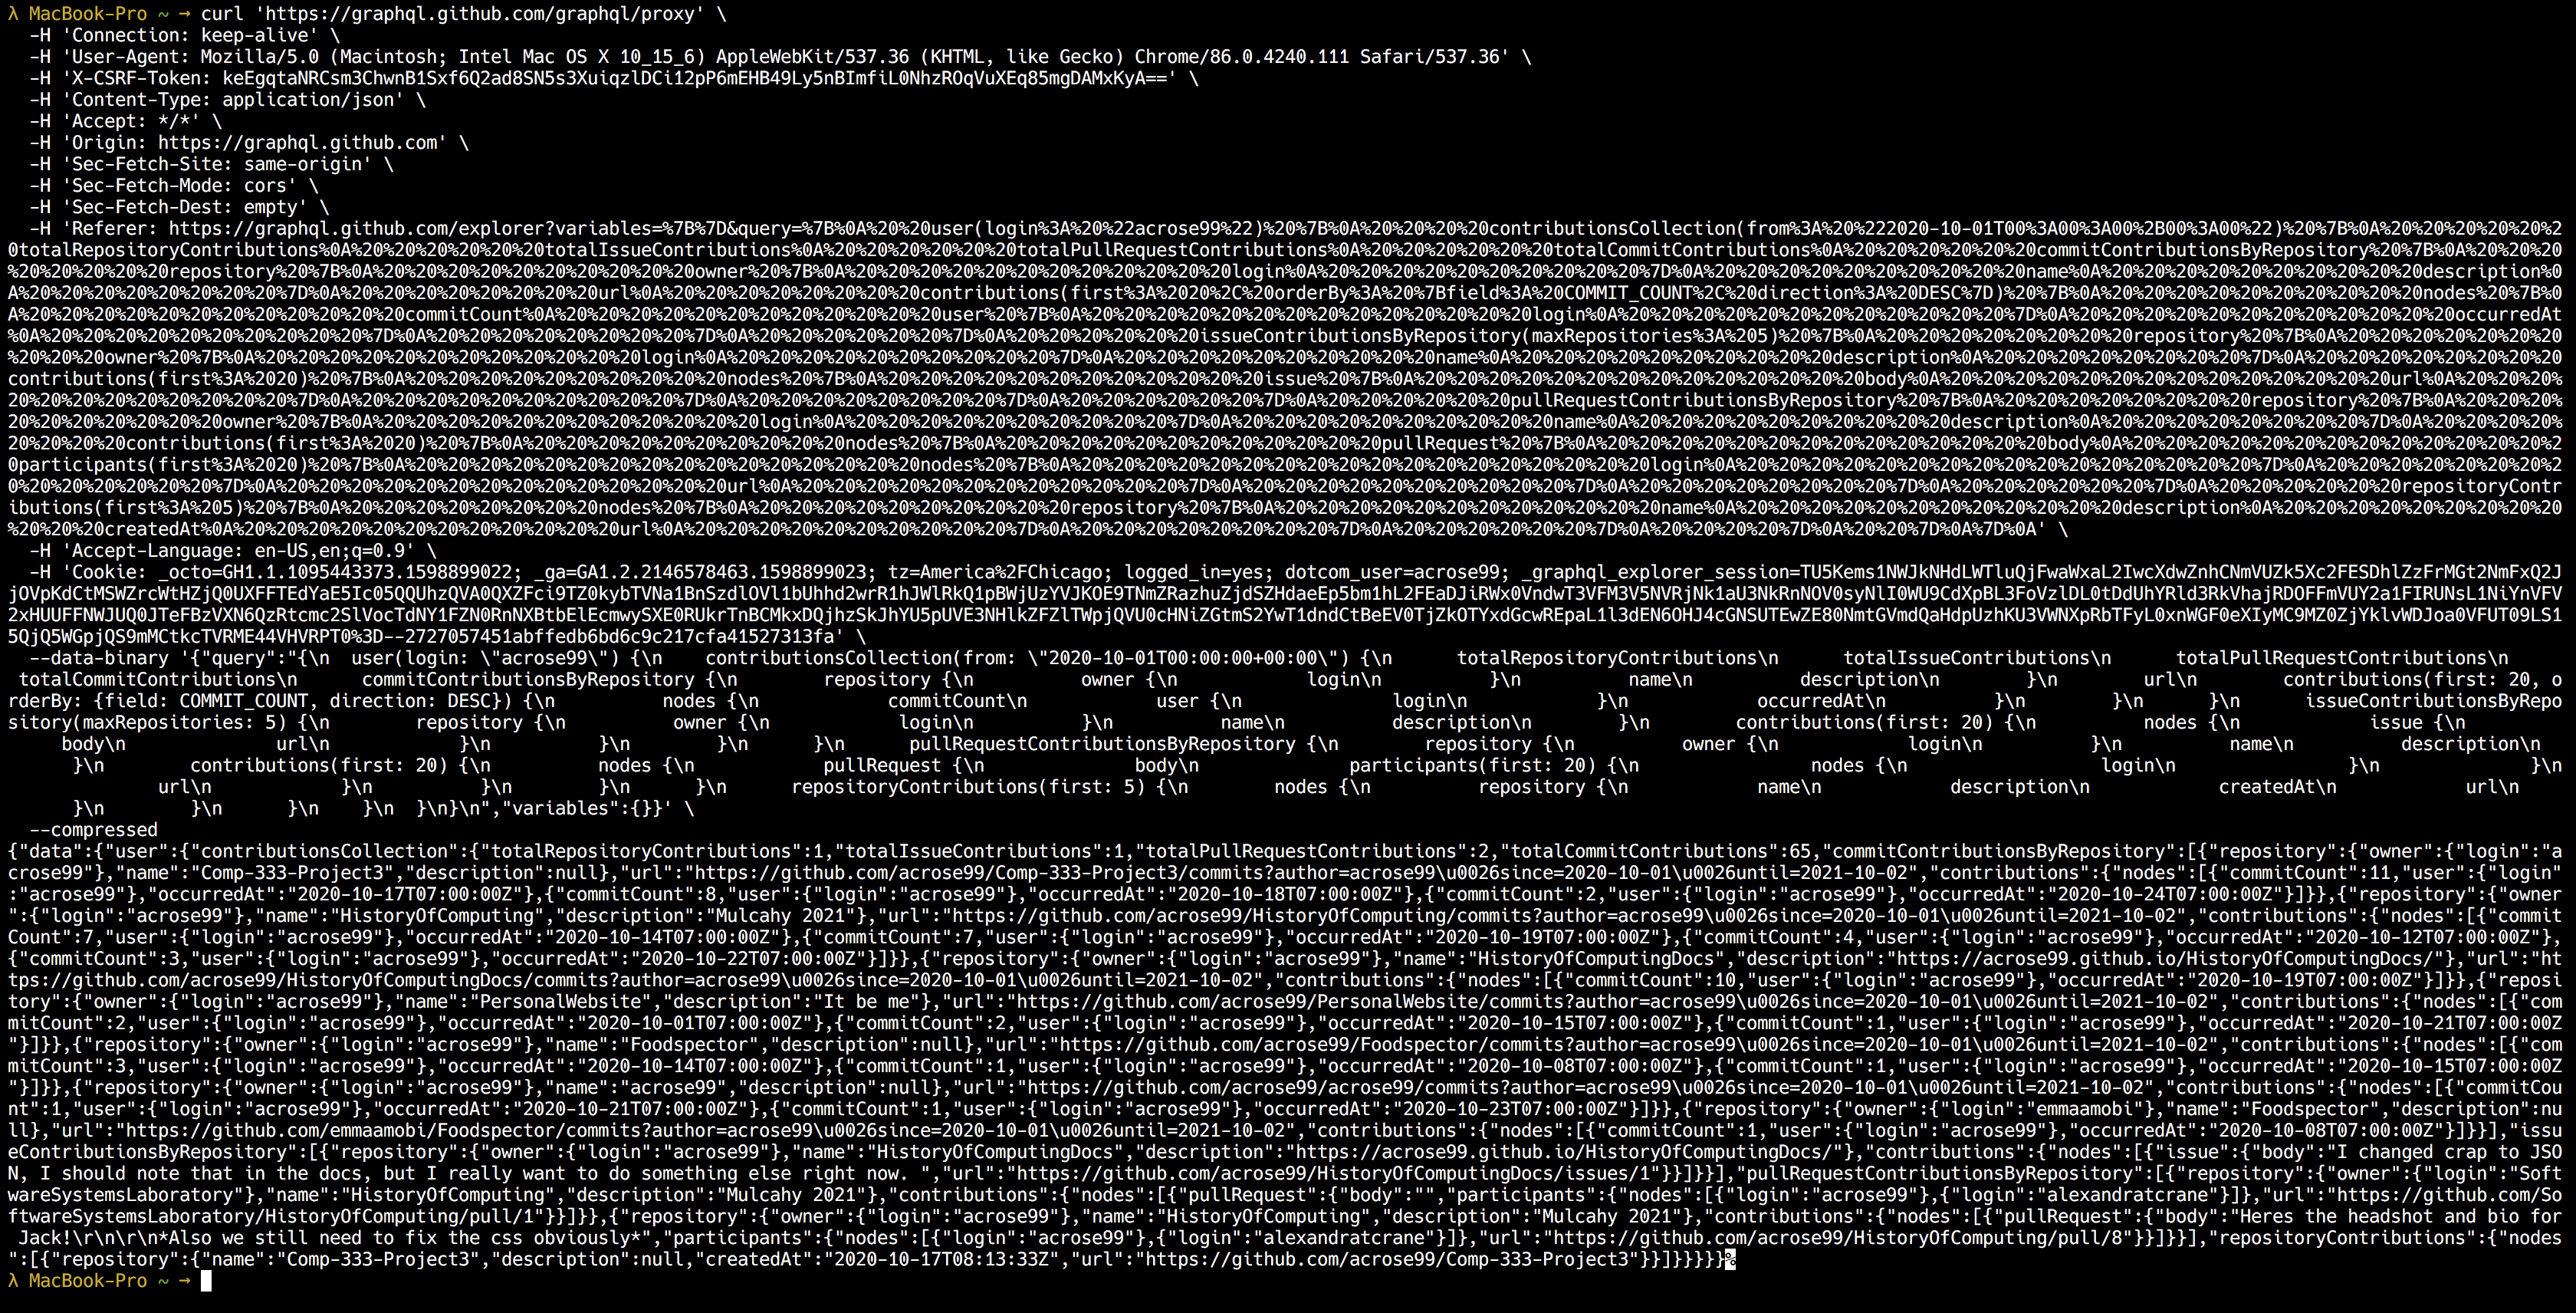
Now open your terminal and paste it. It’s gonna look like by a bunch of garbage, but don’t worry, go ahead and run the command.
Here’s what it looks like on a Mac:

This is technically the same data we saw using GraphQL but it looks like crap. It’s also not saved anywehere Let’s go ahead and change that.
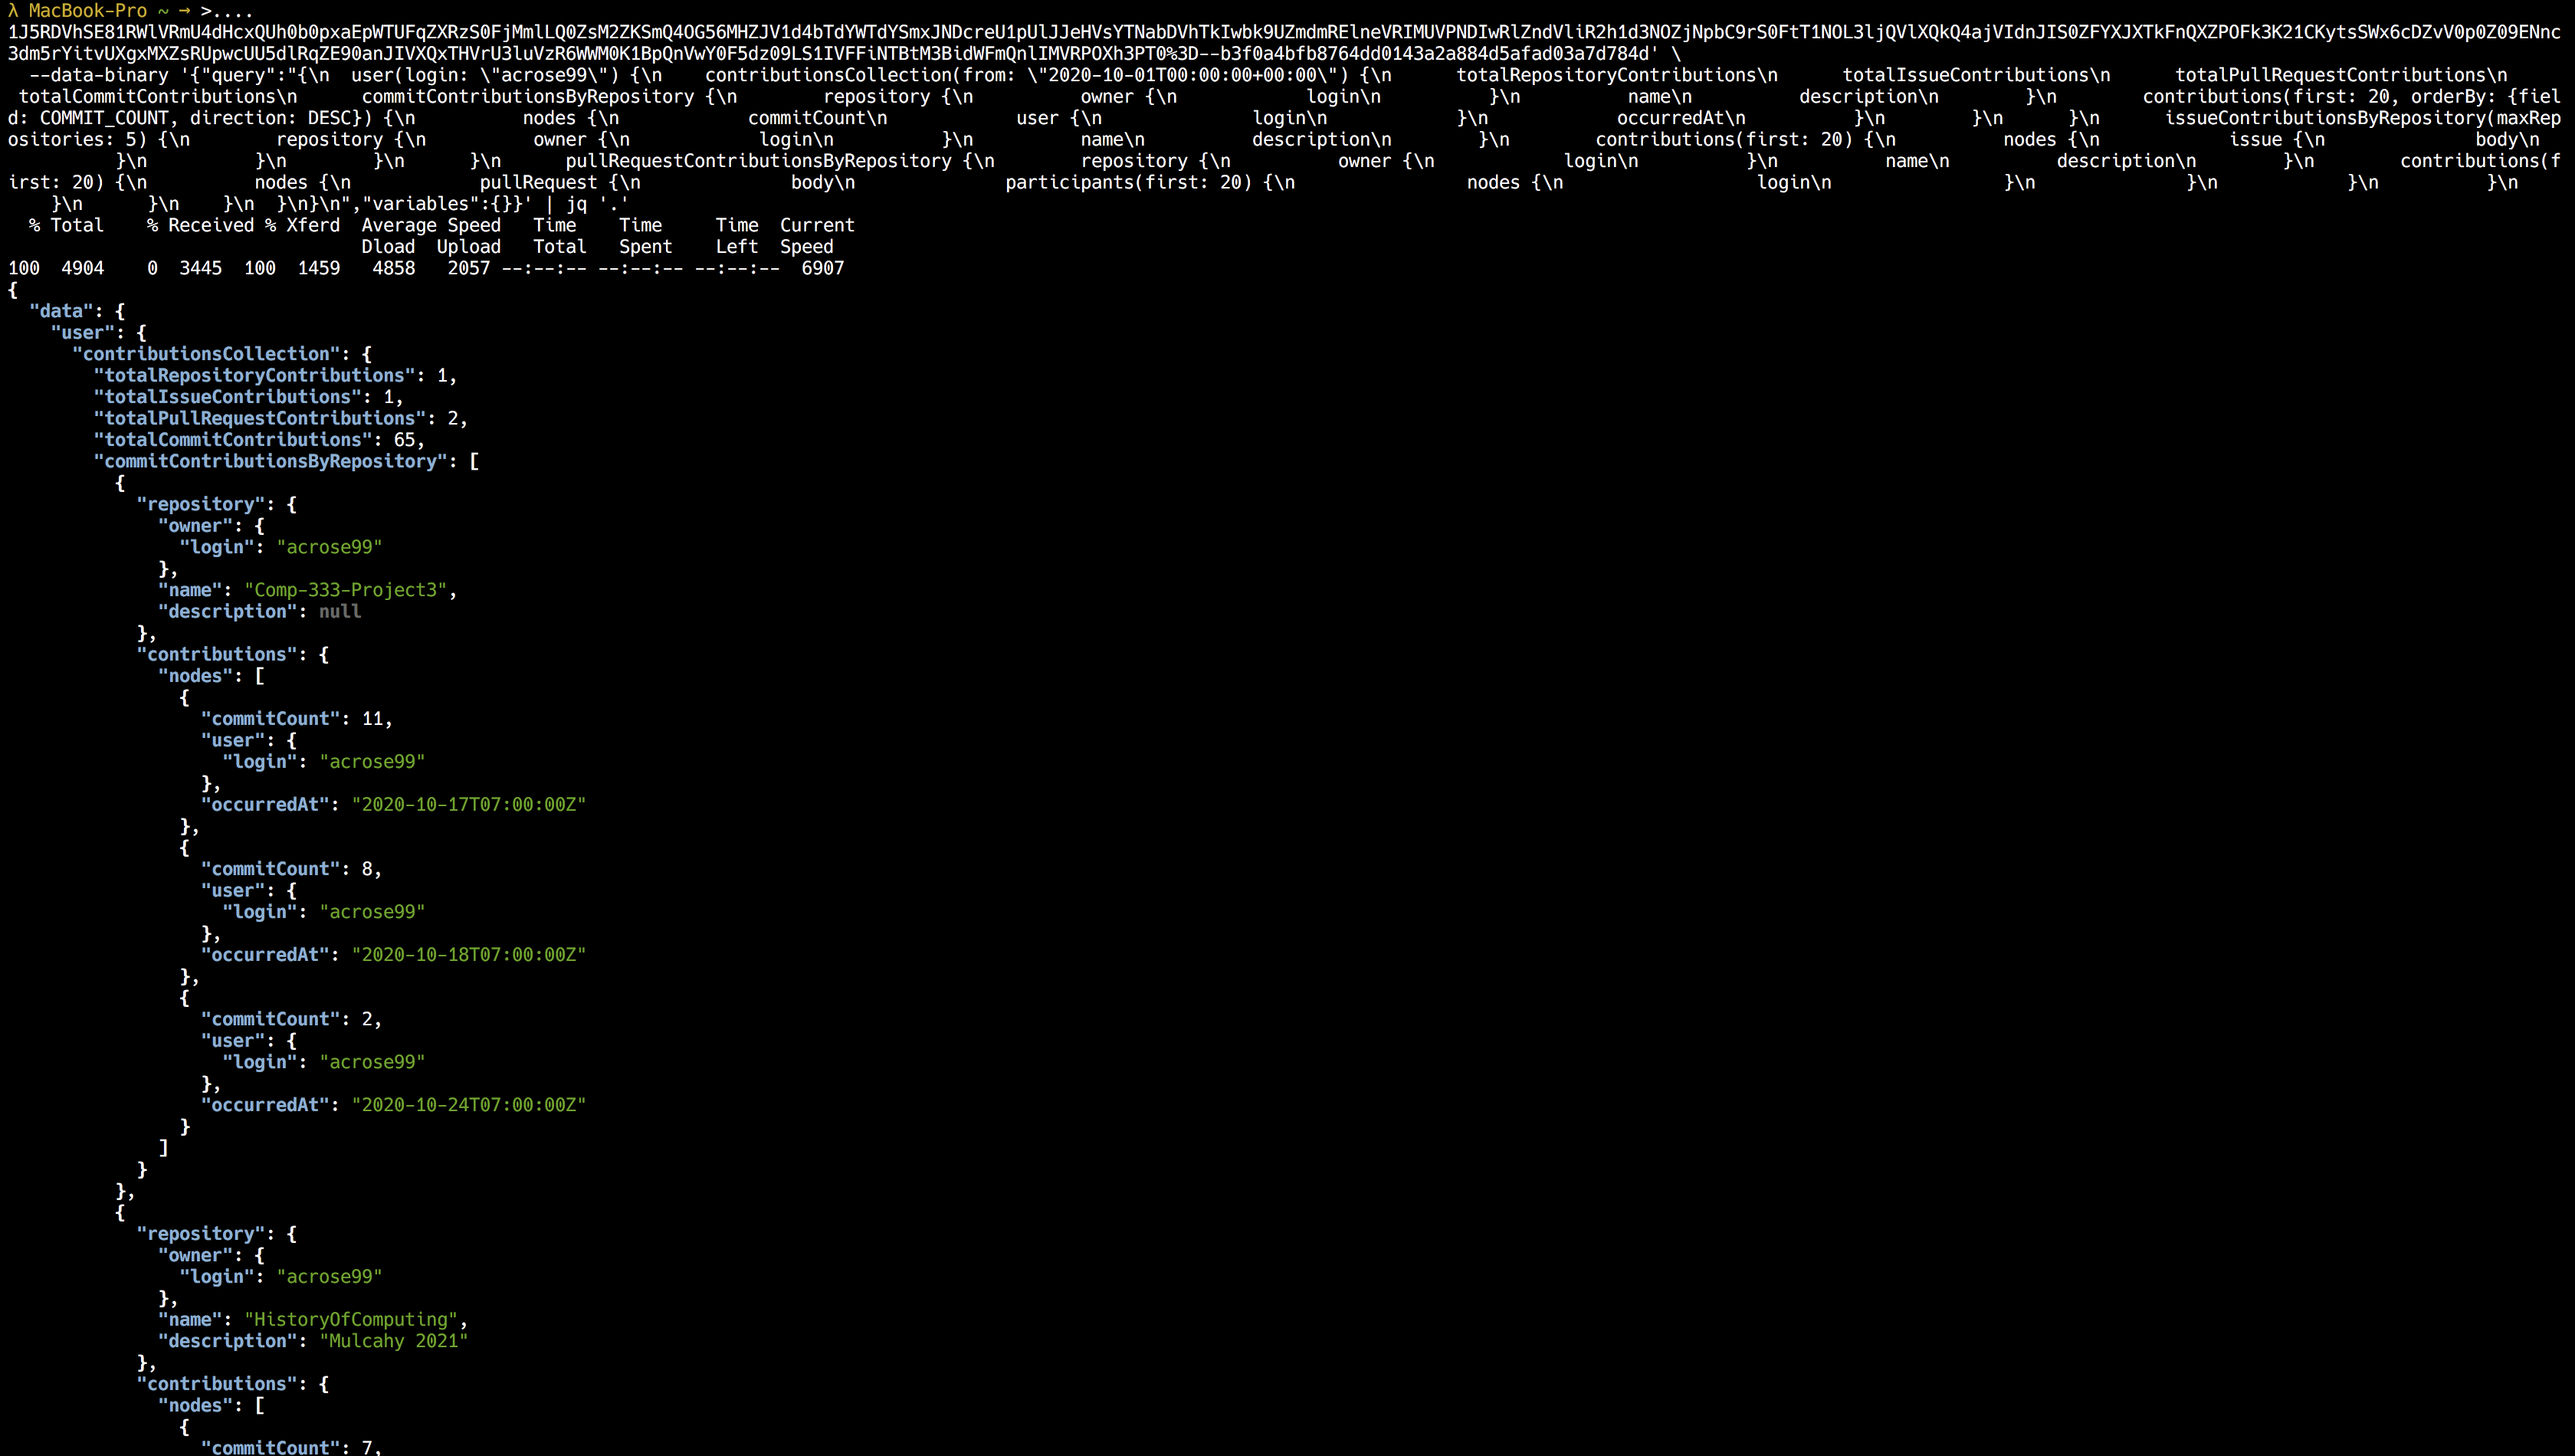
If you’re a nerd like me, you might want to prettify the JSON output on the command line itself.
| jq ‘.’ to the end.
Locally saving the file is super easy. Open the cURL command and go to the very of it. Add this: -o
output.json. Feel free to change the name of the file, of course.
If you did the bonus step, you can save the output to a file and prettify the output using JQ using this syntax at the end:
-o output.json | cat 'output.json' | jq '.'
Go ahead and run it again. It will create a file called output.json with all your Github data.
It depends on your IDE, but there’s a high change that the JSON is folded onto one line. If you want to prettify that, I suggest using Sublime, and installing Sublime Pretty JSON so that you can prettify the code with one keystroke. Here’s the instructions for that: SublimePrettyJson
I highly recommend creating a zsh or bash script that runs the cURL command that we just made automatically. I simply made a function in my .zshprofile using Sublime called gitData. Now I don’t have to copy and paste the curl command every single time. I would describe this in further detail, but it would require me to delve into zsh/bash profiles. You’re probably tired of me by now so I won’t.
Here’s a tutorial though: https://medium.com/sysf/bash-scripting-everything-you-need-to-know-about-bash-shell-programming-cd08595f2fba
I hope this helps you keep track of your progress, by looking through your own Github data. For me, it’s a good way to remind myself I’m not a total failure. Maybe I also helped you learn some very basic shell scripting and GraphQL skills!
Thanks so much if you got this far. Consider adding me on GitHub or LinkedIn if you enjoyed
-Alex R.